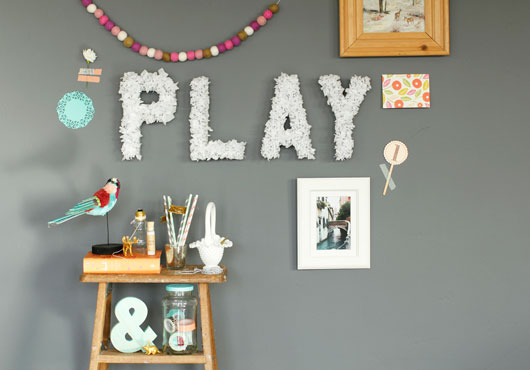
Alix is back again to share this awesome spin on cardboard craft letters. I love the texture the tissue paper adds to each letter, and of course I love the simplicity of the project overall. Read on to get the full step-by-step tutorial. Thanks Alix, for creating another amazing project for my readers!
I’m always looking for simple and quick ways to add details to my home. Sometimes I feel like finding the perfect couch overshadows the importance of adding meaningful wall decoration. This isn’t life-altering stuff here, but we could all use a few more lovely things in life, don’t you think? Two weeks ago I purchased some cardboard letters that spell out the word “PLAY”. My intention is to hang them in my future daughter’s room, but only heaven knows when that day will come. I couldn’t just let them sit in a sad pile in my office (I have a crafting addiction that must be fed)! So I decided to come up with a craft that would satisfy my crafting “problem” and make those lonely letters happy. It is also cute enough to hang in a little girl’s nursery someday!
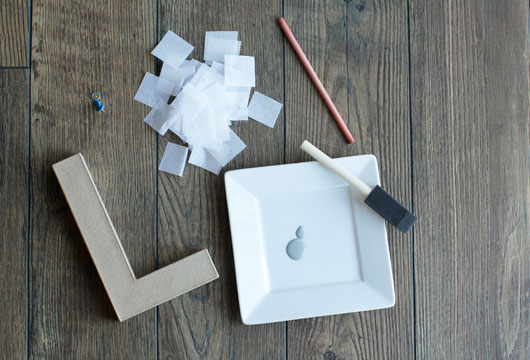
Supplies:
– Cardboard letters. You can buy these at your local craft store.
– Craft paint if you want the sides of your letters to be a different color than the cardboard.
– Paintbrush or paint sponge.
– Several pieces of tissue paper cut into 2-inch by 2-inch squares.
– A pencil or pen to form the tissue paper around.
– White craft glue. I used simple Elmer’s glue and it worked like a dream.
– Thumb tacks–you will need about 3 per letter.
– Hot glue gun and glue.
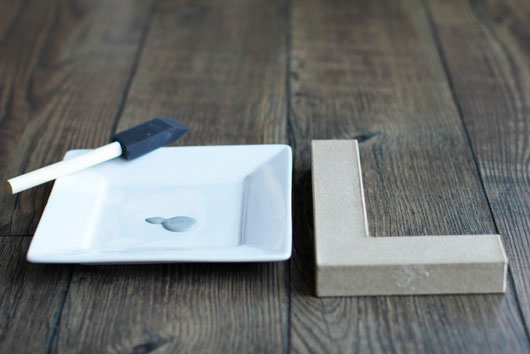
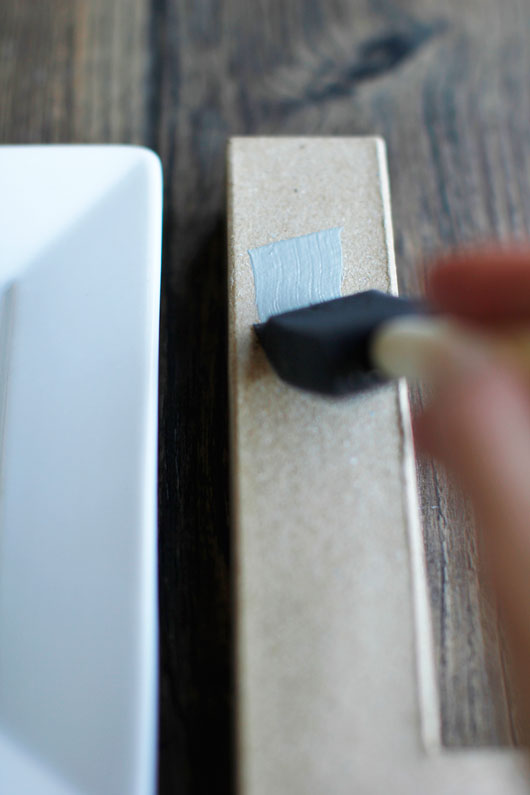
Step 1 is easy and optional (just the way I like it!). If you wish your letters to be a certain color that will be visible on the sides, paint them. I chose a light gray I felt would go well with my wall color and home decor. Let’s be honest though, light gray pretty much goes with everything so I was playing it safe. Let the paint dry for 15 minutes and then move right on to step 2.
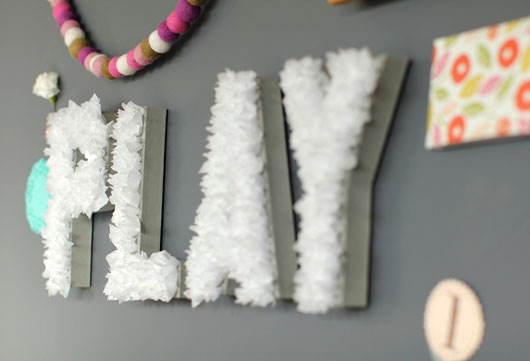
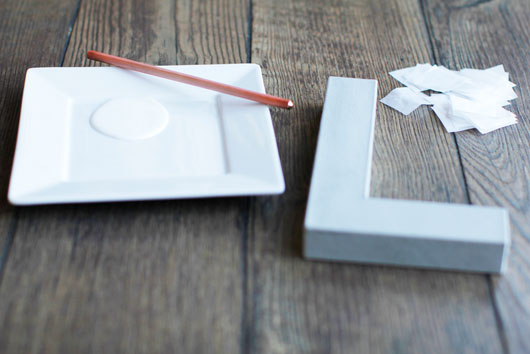
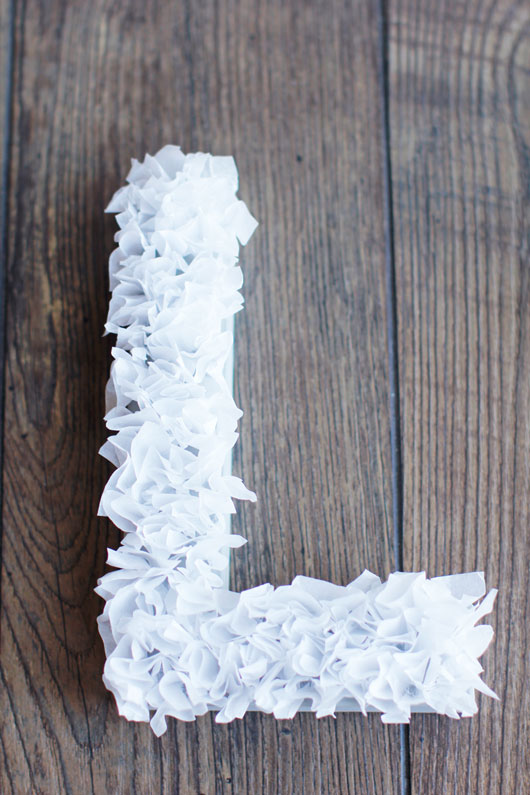
For step 2 you will transform the cardboard letters into whimsical tissue paper letters. To begin, take one tissue paper square and place the center of the square on the eraser end of your pencil. Now form the tissues paper square around the end of the pencil and hold it tight. Next, dip the tissue paper lightly into the glue and press it firmly onto the face of the letter. Repeat this step until the entire face of the letter is covered in tissue paper dots.
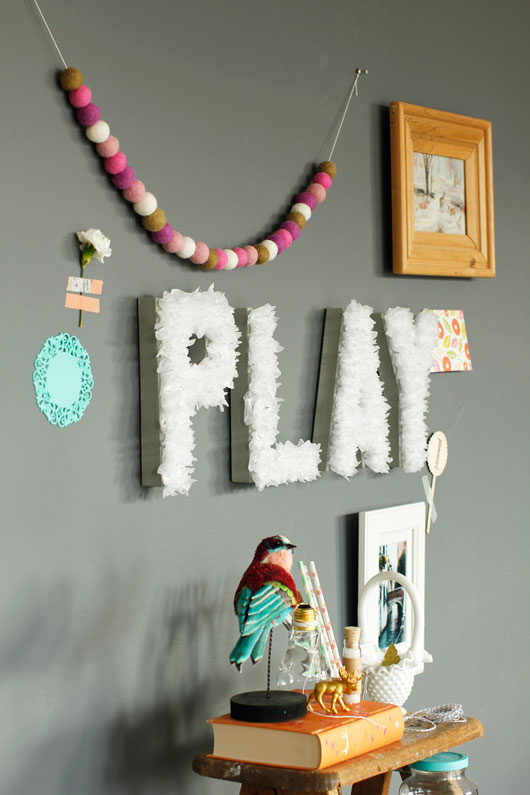
The final look.
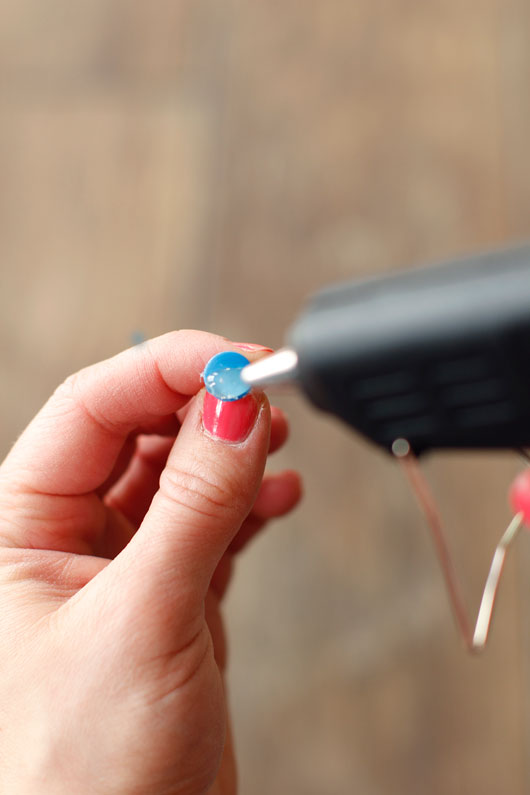
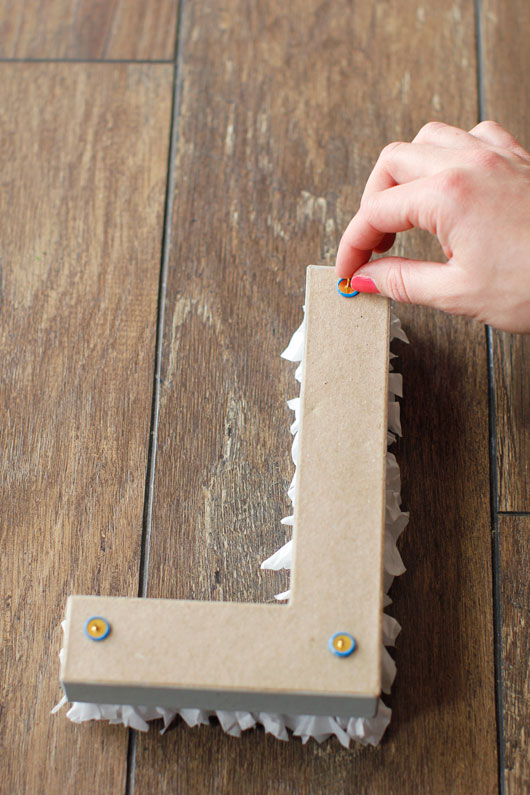
Now step 3 is my secret step. One thing about cardboard letters that I love (there are so many things to love about them) is that they are light and easy to hang. But here is my little trick…the easiest way to hang them is with thumbtacks! First, place a dab of hot glue on the face side of your thumbtack. Then glue the tack onto the back of your letter. I usually attach 3 to 4 thumbtacks to the back of each letter. When you go to hang your letters all you have to do is make sure they are level and firmly push them into the wall.
There you have it! Mission wall display accomplished!
Thanks so much Alix! I love the project and I know you all will too. Make sure to visit Alix at her own space, A Ruffled Life, where she shares lots of other great projects and sweet snippets of life.



Cute Librarian says
This is so wonderful and I can’t wait to try it!
mandie says
I love this!! I’ve been trying to decide on a way to display my baby’s name in her nursery, and I think this is it! Affordable, not difficult, and lovely.
Jeanine says
An absolute dream come true secret you shared!! Thank you ever so much for this inspirational post–Magnifique finished product.
Jessica Rose says
Really cool idea…and so simple..
http://vodkandarose.blogspot.co.uk