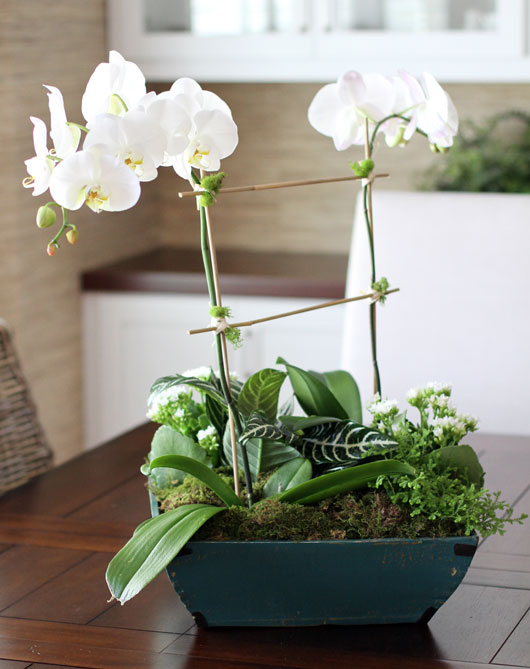
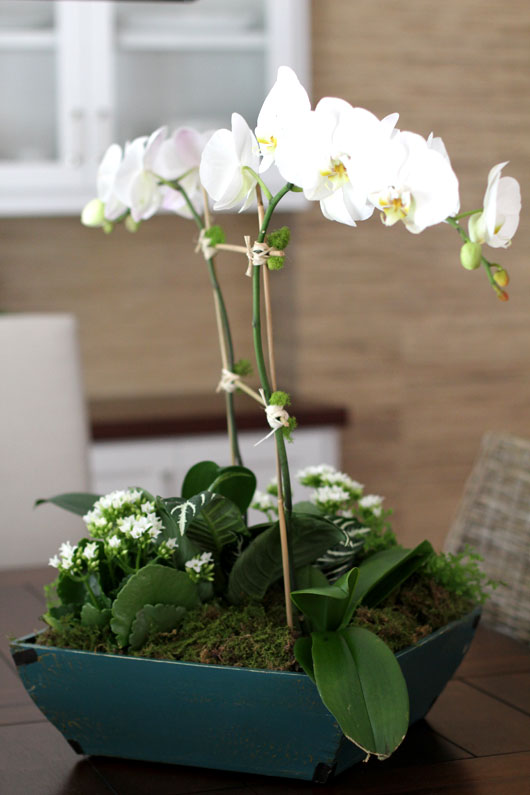
Create this orchid centerpiece that is elegant and easy to maintain. This DIY contains the full step-by-step instructions to recreate your own fresh arrangement often found at high-end florists for $100 or more.
A while back she taught me her secrets that I now share with you. Read on to get the full step-by-step tutorial.
materials needed to make your orchid centerpiece
- 1-2 medium sized orchids
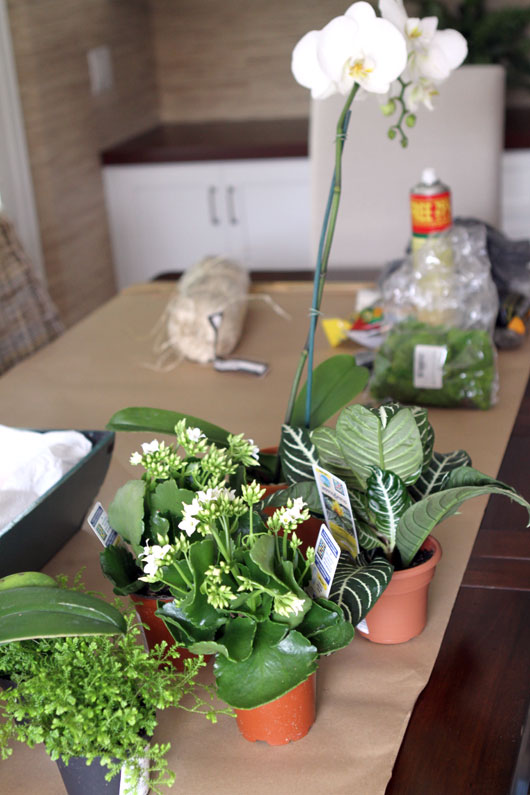
- 3-4 small potted ferns, succulents & favorite houseplants
- A large vessel to hold your plants (Home Goods is a great place to look for affordable options)
- 2 sticks of bamboo, florist wire, sheet moss and reindeer moss (found at most craft supply stores)
- Scissors or clippers, old newspaper or scrap paper to use as filler, and a plastic grocery bag to use as a liner
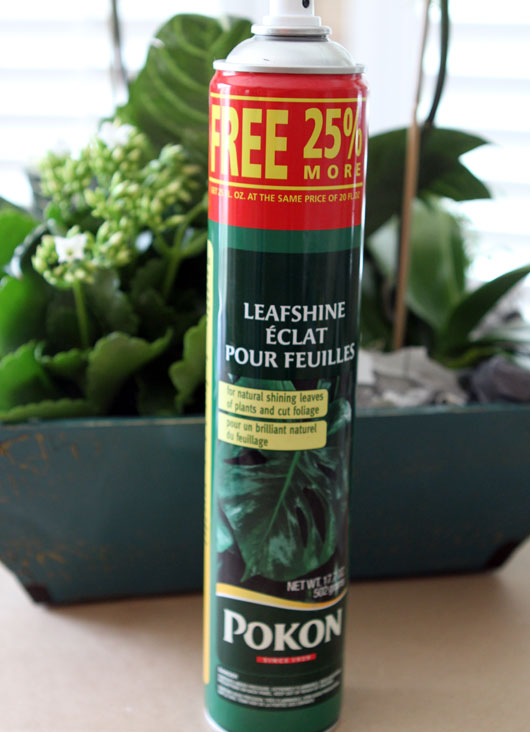
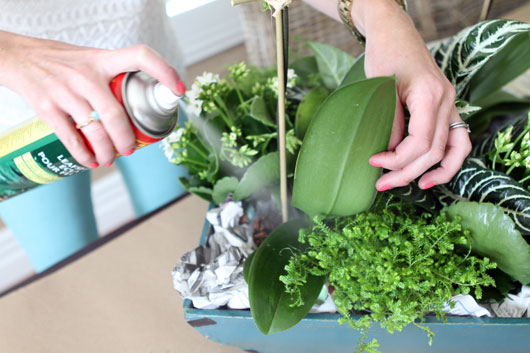
- The raffia and leaf shine are optional but nice touches (Leaf Shine can be purchased at most home warehouse stores)
instructions to make your own centerpiece
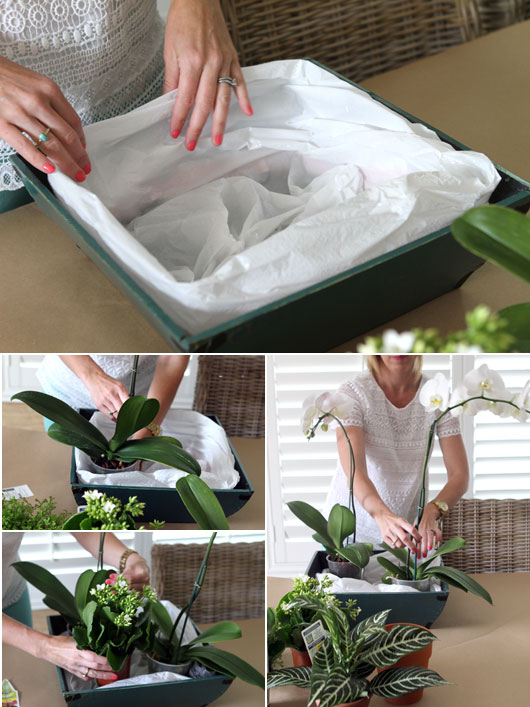
- Line your vessel with a plastic bag of some sort
- Arrange your orchids and house plants
- Fill in with balled up newspaper to hold plants in place
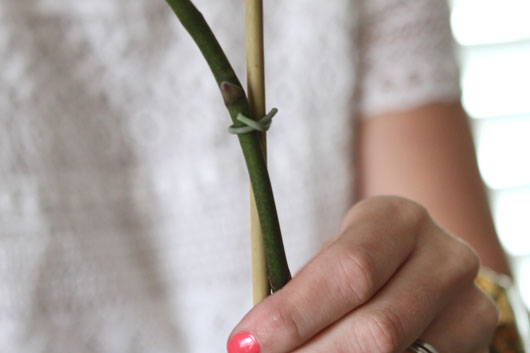
- Attach bamboo to centerpieces
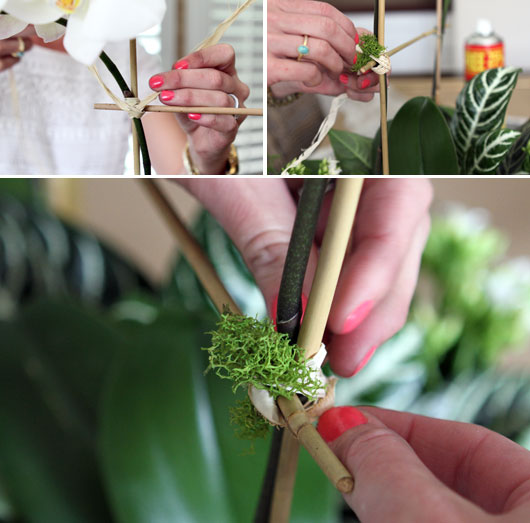
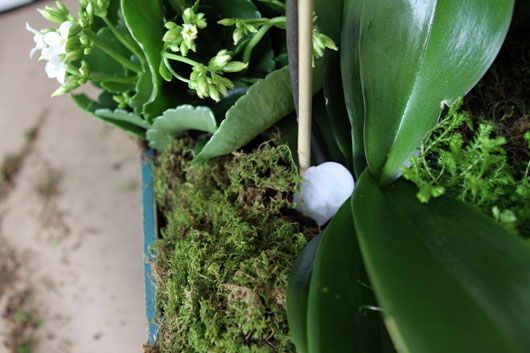
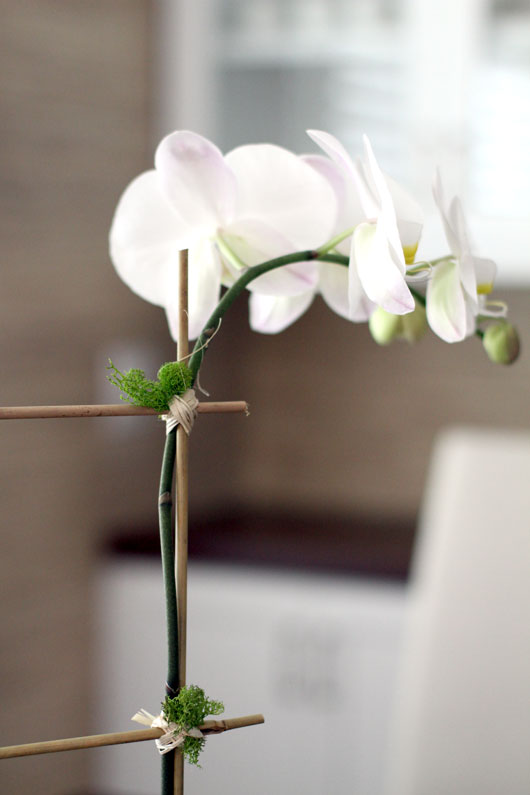
- Create a trellis and decorate with raffia and reindeer moss
- Cover newspaper with sheet moss
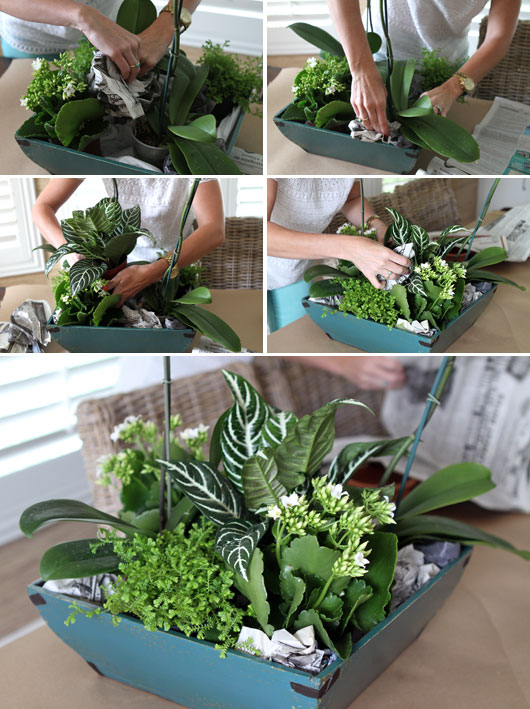
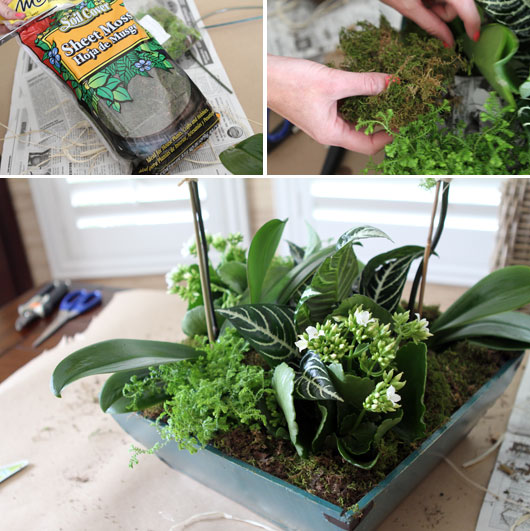
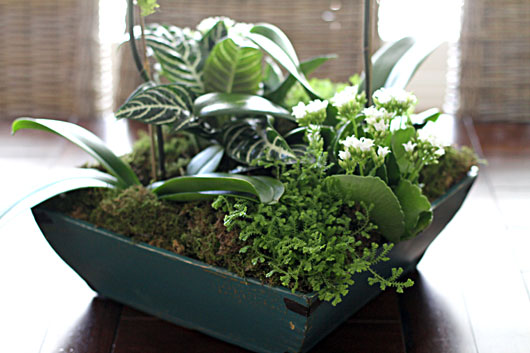
Begin by lining your vessel with a trash bag or plastic grocery bag to protect it from water damage when watering your plants. Leave all the plants in their pots to make it easy to switch out in case any fail. After you’ve lined your vessel, begin arranging your plants. To help them stand up and to hold in place, ball up sheets of newspaper and stick in between.
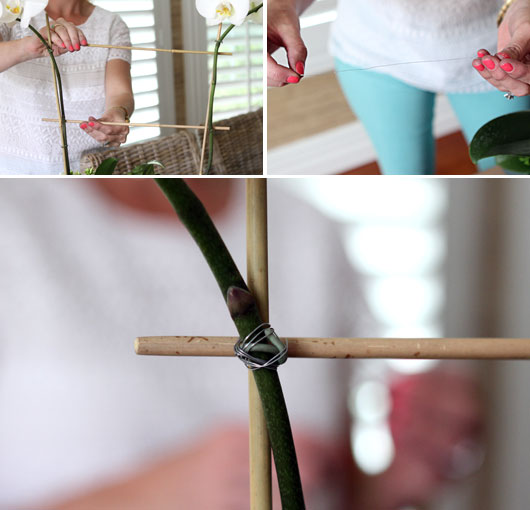
Taking a pair of gardening shears or even heavy kitchen scissors, snip off the tops of the bamboo, and you should have just enough left to make a perfect cross trellis. Take your florist wire and cut about a 12″ piece and start wrapping your bamboo cross trellis in place, in a diamond pattern.
Orchid maintenance and care tips
Water your orchids about every 15 days, making sure not to over water. A great way to prevent over-watering is to drop a single ice cube at the base of each plant every 10-15 days. For the house plants, follow instructions based off of their variety.
The orchid blooms should last a good 3 months and can possibly bloom twice a year. Once the last blooms fall off, cut your flower spike halfway down the stem. Continue caring for it as usual, it is not dead!, and hopefully it will bloom again.
Orchids love humidity, so keep your arrangement somewhere with a temperature range of 75-85 degrees Fahrenheit. Every once in awhile, take your arrangement in the bathroom while taking a hot shower.
choosing the right plants for your arrangment
- Choose filler plants that will require similar amounts of sun and water. My dining room table gets lots of afternoon light, so we chose hearty houseplants and flowers that will do well with lots of light.
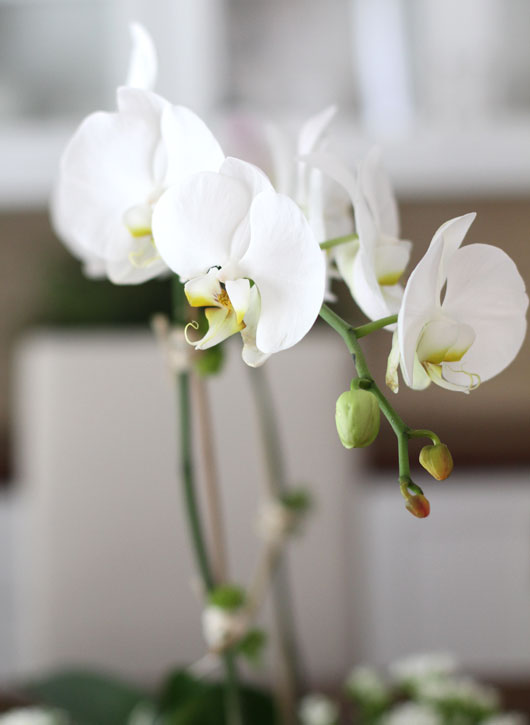
- The Phalaenopsis orchid is a great choice since it’s the most common and easily available variety. They are also hearty and reasonably priced.
- For the filler plants we chose a Zebra Plant (the striped houseplant), two Flaming Katys (the flowers) and a couple of pots of flowy moss.
how much does this floral arrangement cost to make?
All the supplies required to make this orchid centerpiece will run you about $35-40, which is still much cheaper than if you bought your own. Plus, many of the supplies, such as the moss, florist wire and spray, can be used to make multiple arrangements.
How long does this Orchid Centerpiece take to make?
From start to finish, the arrangement only takes about 20 minutes. If you also include your initial time investment visiting a couple of stores to pick up supplies, in all total you should have this centerpiece completed in less than 2 hours.
The effort is well worth it because the results are stunning and will save you tons of money. You can also scale this tutorial down to make smaller arrangements that would be perfect for gift giving.
I hope you enjoyed this tutorial! Please make sure to let me know if you give it a go and how it turned out.
Other great tutorials to check out
- DIY Leather Chain Necklace
- DIY Wire Star Wall Art
- DIY Yarn Wall Tapestry




Barbara says
I like ,one so much orchids i have 10 colours in home
Susan says
I am so glad I came across this site-your arrangements are beautiful. I can’t wait to try one myself. Thanks for sharing your talents!
Heather says
I love orchids! This arrangement is stunning! Pinned!
Ginger says
Beautiful! Thanks for all the great tips. I would never have thought about living the plants in the containers so you can take them if (or in my case when) they die to replace them easily. Brilliant!
{darlene weir} @ fieldstonehilldesign.com says
SO pretty!!