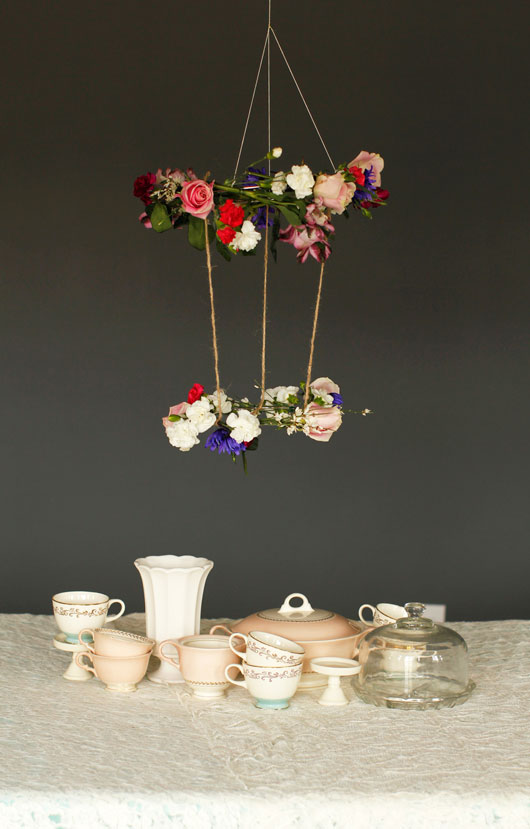
Spring is upon us, and there’s a lot to look forward to. Therefore this DIY hanging floral chandelier craft is the perfect way to welcome in a season of new hope, and brighten up a living space. This DIY would be perfect for a small Valentine’s Day celebration, a birthday, or an intimate backyard wedding. Read along to get the full tutorial for this easy and festive craft.
Every Valentines Day I try and come up with new ways to glob on the glitter, warm up my hot glue gun, and cut out an obscene amount of paper hearts. But this Valentine craft is different. This Valentines I made a floral chandelier that is stylish and lovely. It is far more mature than glitter, if you know what I mean. A floral chandelier made from romantic roses, carnations, and some daises (for good measure) is prefect for a sentimental dinner at home. But it also says a sweet “Happy Love Day!” to everyone running around your house.
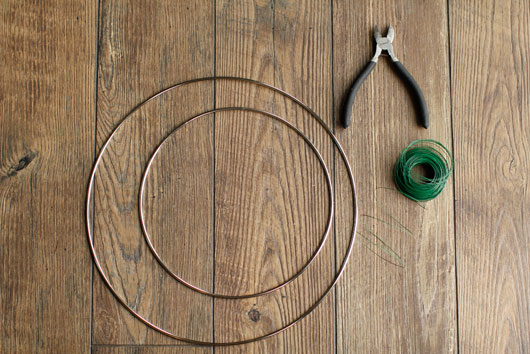
Supplies for this DIY Hanging Floral Chandelier:
- Metal hoops in 2 sizes (I bought these at my local craft store)
- Floral wire to attach the flowers
- Twine or string to tie the hoops together
- Wire cutters
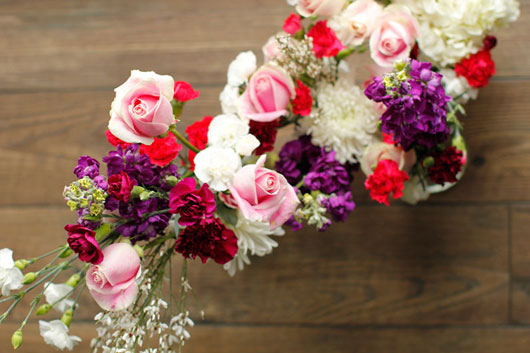
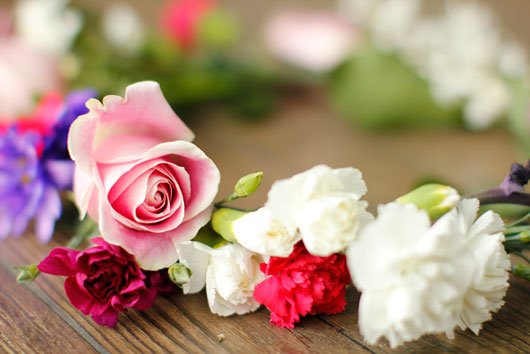
- Fresh (or artificial) flowers!
How to create the floral hoops
The process to creating the chandelier is simple and rather quick. You should have this project completed in about 30 minutes, or maybe a bit longer if you’re binging Bridgerton while crafting 🙂
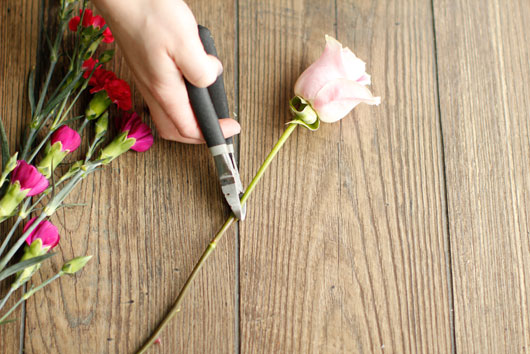
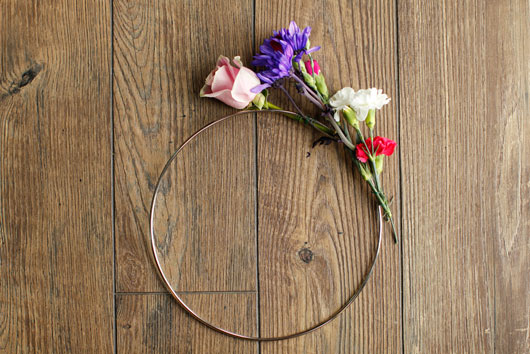
Begin by gathering your flowers and cut their stems down to about 4 inches. This will make it possible for you to attach them to the metal hoop.
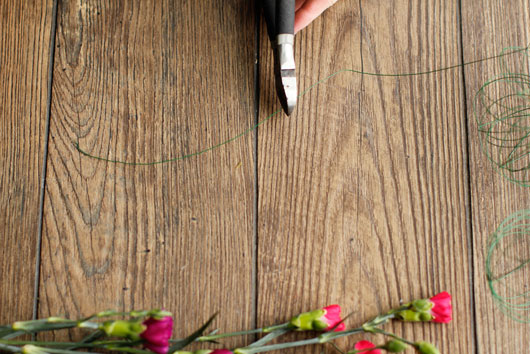
Next, cut a few clips of floral wire to prepare to attach the flowers. The floral wire should be cut in 4 to 6 inch sections using wire cutters.
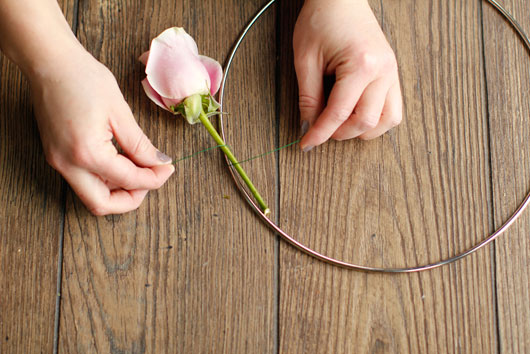
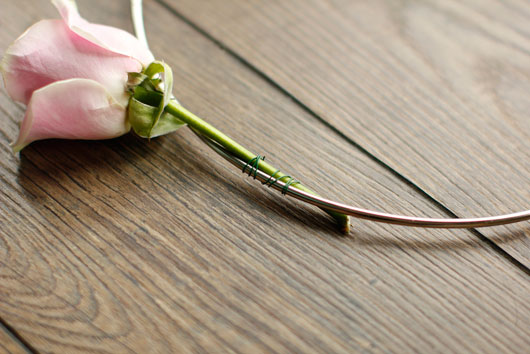
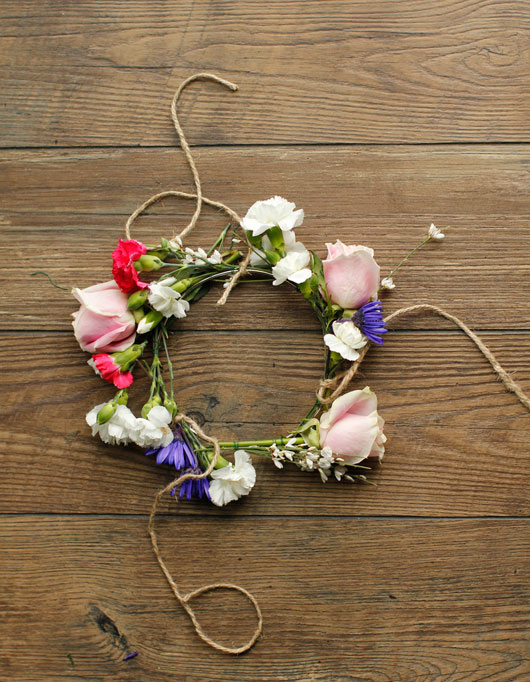
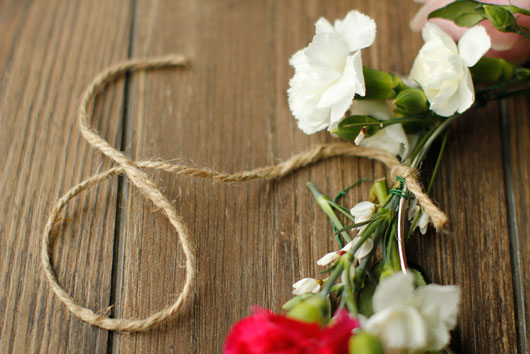
Once your wire is cut, you will begin attaching the flowers to the hoop. The easiest way to do this is to lay the wire under the hoop and the flower. Then carefully wrap the wire around both the flower stem and metal hoop several times so that the flower is securely fastened to the hoop.
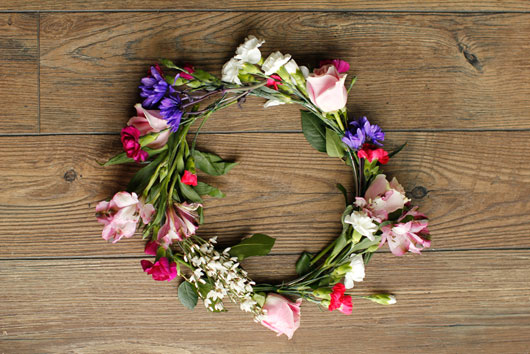
Now, complete your floral hoop by attaching the remaining blooms. This is some love day self-therapy crafting. For step four repeat step 3 with varying flowers all the way around the hoop until your hoop is completely covered in flowers. You may want to add greenery here and there. Like I said…it’s your craft/therapy/self-love DIY.
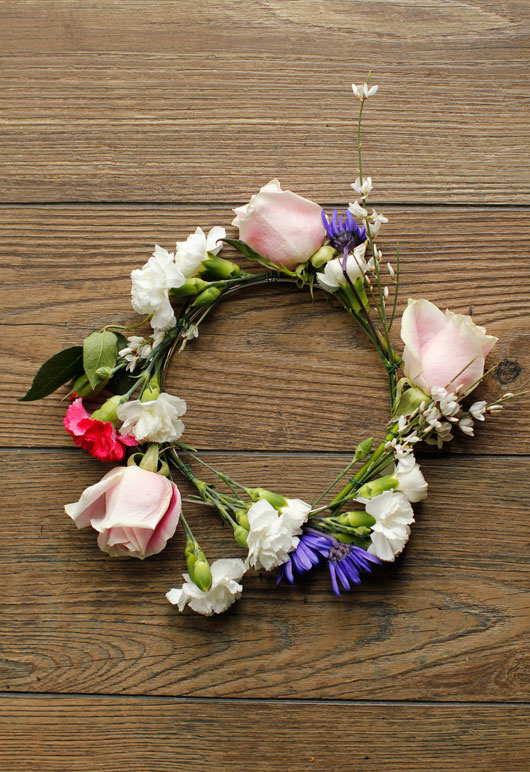
Now repeat steps 1-4 on your second, smaller metal hoop so you have a pair to transform into a chandelier.
How to turn the hoops into a hanging floral chandelier
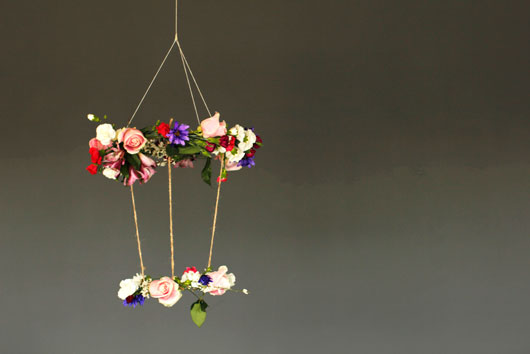
For the final step you will need to connect the hoops and string them up. I used a pretty twine (or jute), but feel free to use whatever sturdy ribbon you have on hand. I
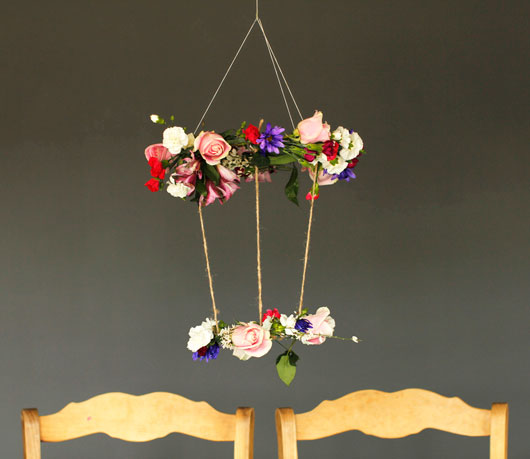
- Tie 3 strips of twin measuring 18 inches long on three different parts of the first hoop. Make sure the twine knots are evenly spaced on the hoop with a third of the hoop in between each knot.
- Now tie the opposite end of the twine (the end not tied to the first hoop) to the second hoop. Again, make sure they are evenly spaced by thirds.
- To hang the chandelier, I tied white string to several spots on the larger hoop. TI then tied those strings in a knot, and stick the end of the white strings into the ceiling using a pushpin. I chose a simple white string, but you can use twine, fishing wire, ribbon, or whatever you have on hand.
Isn’t this such a pretty way to add a touch of nature to a room, as well as some bright colors? I know we could all use some cheeriness in our lives right now.
 Tips and tricks for this DIY
- If your floral selection is less than stellar, or you want this to last longer, use artificial flower! Just make sure you have sturdy wire cutters on hand, since artificial flowers always have strong wire stems.
- To extend the freshness of the blooms, avoid hanging the floral chandelier right under a heater vent. Mist the flowers every day and this should last about a week!
I hope you enjoyed this fun tutorial! Please share with me if you make it, by leaving a comment or tagging me on Instagram @howe.we.live

 Tips and tricks for this DIY



Melissa says
This is stunning! I MUST try this.
Chelsea Foy says
Gorgeous project, awesome partnership! Love all of this!
Alix Adams says
Thank you! I am so very excited to be working with Andrea!
xo
ashley says
love this! beautiful pictures. going to make this for my daughters birthday Saturday!
Alix Adams says
I am so glad that you liked it! Post some pictures of the one you made so I can check it out!
xo
Alix