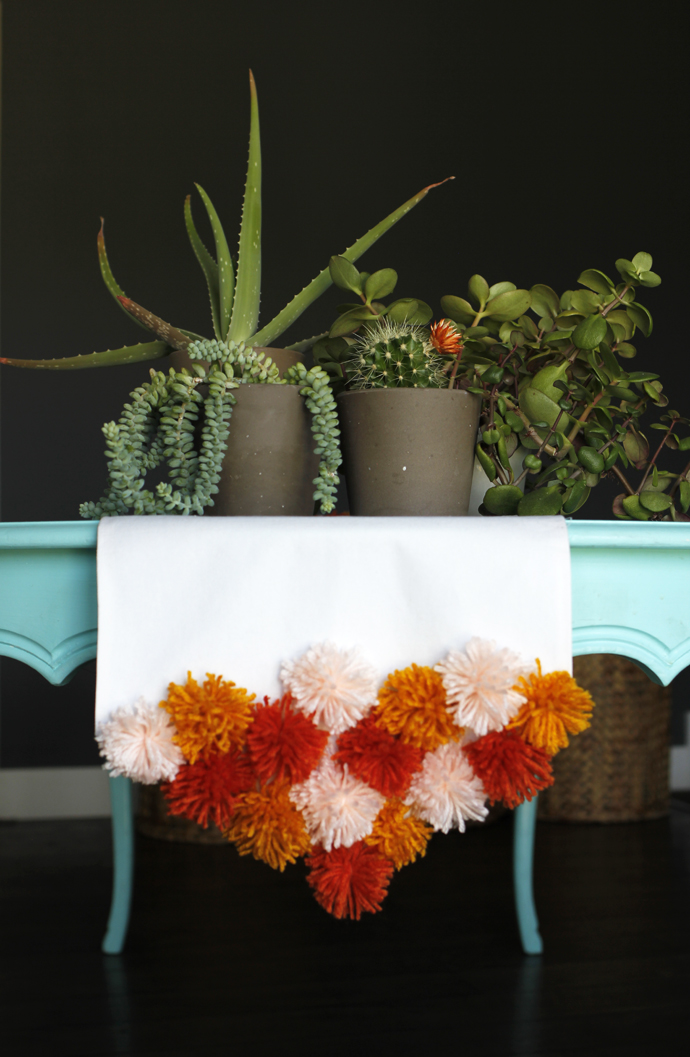
 For parties and entertaining I sometimes feel like the most under-utilized table accent is the table runner. Don’t get me wrong, there are definitely more important things to worry about: like making thoughtful meals and spending quality time with guests. But if you find yourself wanting to make a party statement without a ton of hassle consider the table runner your new best friend. Table runners anchor a table setting…they give it structure without stealing the show! That’s why I came up with a fun and simple way to accessorize my table runner without too much fuss!
What you will need:
-Yarn in a variety of colors
– Embroidery string (like the string you would use to make a cross-stitch)…the color doesn’t really matter as you wont be able to see the string on the finished table runner
– A piece of fabric cut to the length and width you desire for a table runner. I also stitched a quick hem around the runner to avoid fraying.
– Scirrors
– A needle big enough to thread embroidery string through.
Step 1: To begin, find an end on one of your yarn balls and being wrapping yarn around 3 to 4 fingers (depending on how big you want your yarn poms to be). I wrapped the yarn around my fingers about 35 to 40 times for fuller little poms. After wrapping, simple cut the yarn end.
Step 2: Next, slide the yarn off of your hand, making sure to retain the loop shape that the yarn formed around your fingers. With a scrap of yarn, tie a tight double knot around the middle of the yarn loop. Then simple tie the embroidery string around the center of your yarn loop as well. This string will help you attach the poms to the table runner.
Step 3: Then, being careful to not cut the embroidery string, use your scissors to cut all of the individual yarn loops. This will create a little yarn pom pom!
Step 4: Finally attach the yarn poms to the table runner. First, thread the ends of the embroidery string through the needle. Then carefully feed the needle through the table runner fabric. Tie a double (or even triple) knot with the string on the back side of your table runner to secure the pom.
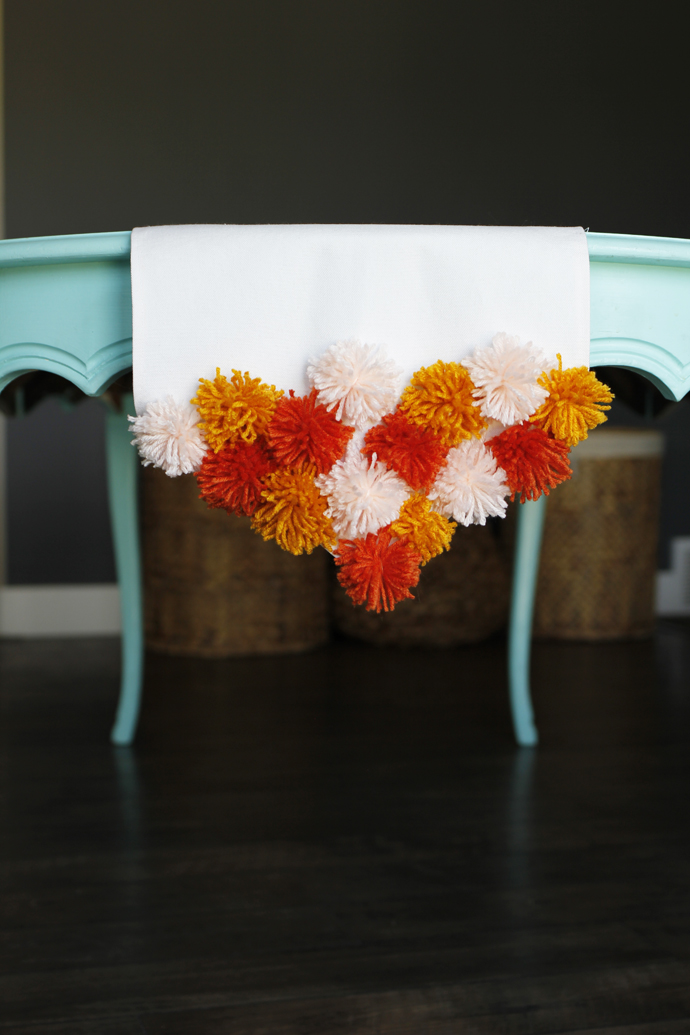
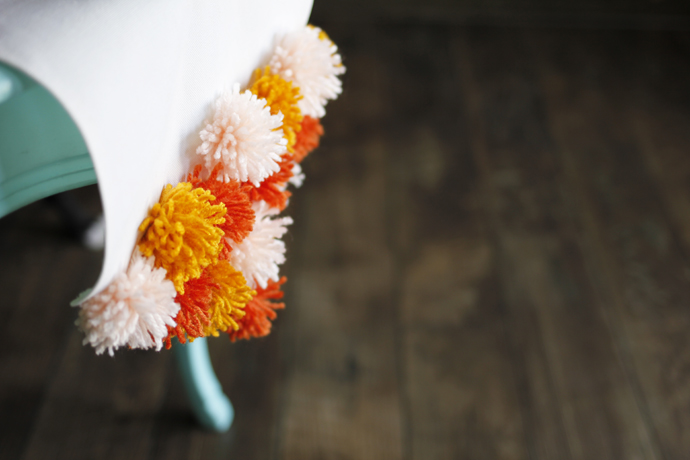
Repeat those steps, creating 30 poms total (15 for each end)!
LOOKING FOR MORE DIY? CHECK OUT THESE POSTS
- DIY Leather Chain Necklace
- DIY Wire Star Wall Art
- DIY Yarn Tapestry
- DIY Geometric Wall Art



ella ruth says
Love this. Gonna try this, It would look good for a 4th of July table. Thanks for sharing. : )
bridget b. | 623designs:interiors says
Cute! How well does it hold up to washing?
Mandy Jean says
So cute! I love table runners like this.