This easy to make, DIY Yarn Tapestry is a beautiful addition to your wall. Just a few simple supplies is all you need. And you can customize this to match whatever color you want in your own home, by choosing yarn colors that match.
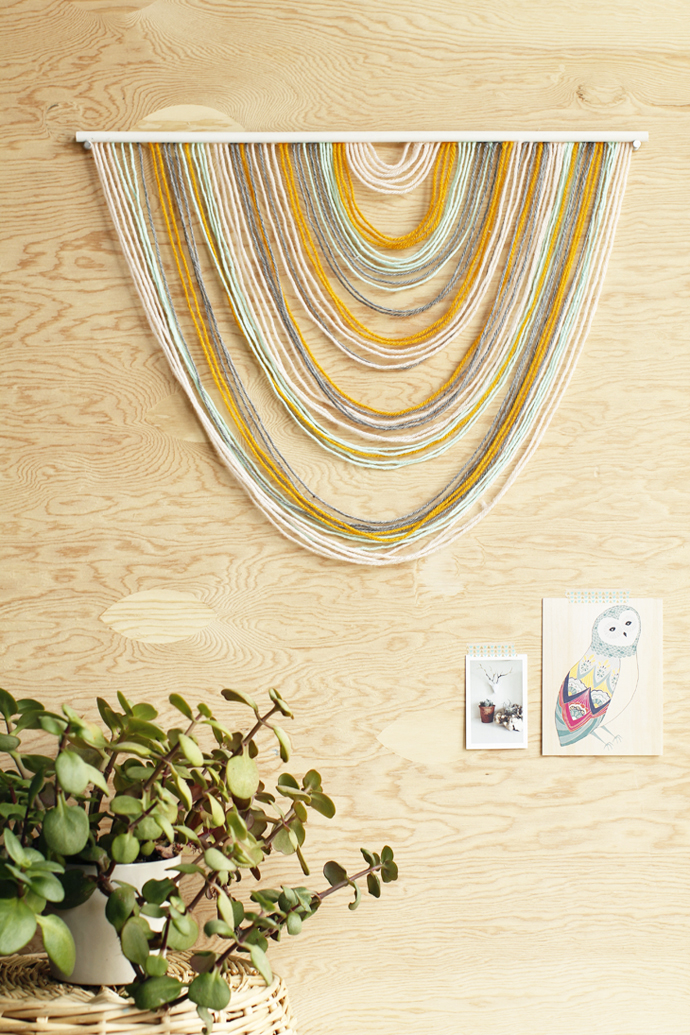 Wall tapestries are totally the new hot thing, didn’t ya know? It’s true I am jumping on the wall tapestry bandwagon and not looking back. In my summer lineup I plan to take a tapestry class and learn from a pro.
I’m also going to buy a real tapestry loom to call my own! But I’m guessing that not everyone has the time to go all tapestry-crazy this summer, so I came up with an easy, quick, simple, and easy (did I mention it was easy) yarn tapestry DIY that you can customize and make it your own!
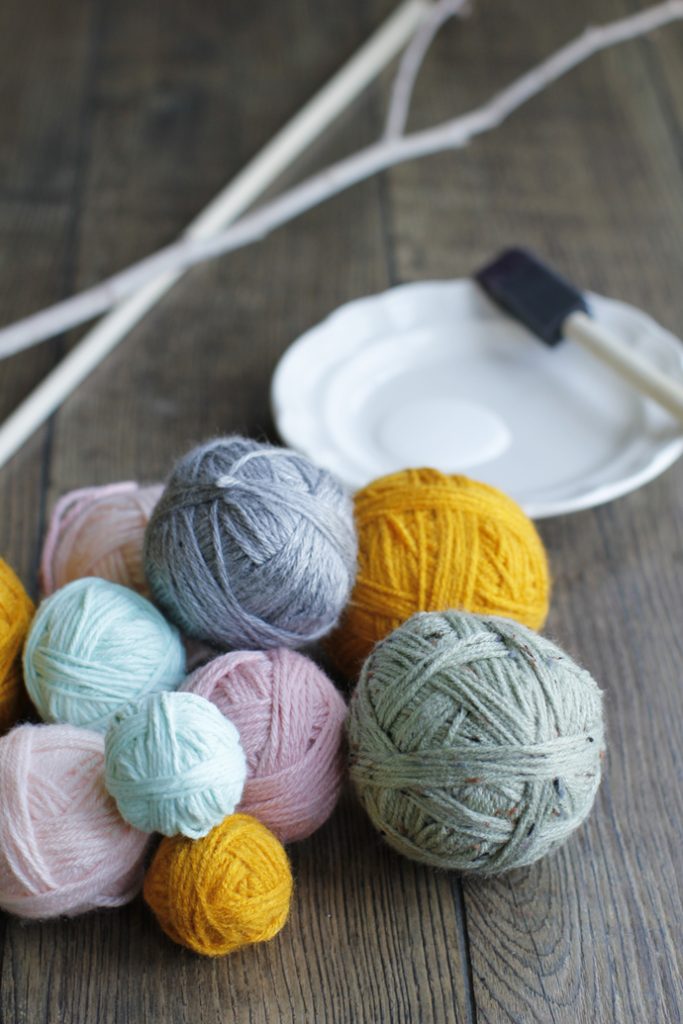
Yarn Tapestry Supplies you will need:
– Yarn in the colors your prefer
– A wooden dowel or a stick/twig, depending on the look you want. This week I am working on a second yarn tapestry using a stick and it will be a little more messy- and whimsical-looking
– White paint and a painting sponge brush
– Hot glue gun and glue sticks
How To Make This DIY Yarn Wall Tapestry
Step 1: First thing first, I began by painting my wooden dowel a crisp white. I really wanted the yarn to be the star of the show, so I covered the dowel in white and let it dry for about 10 minutes.
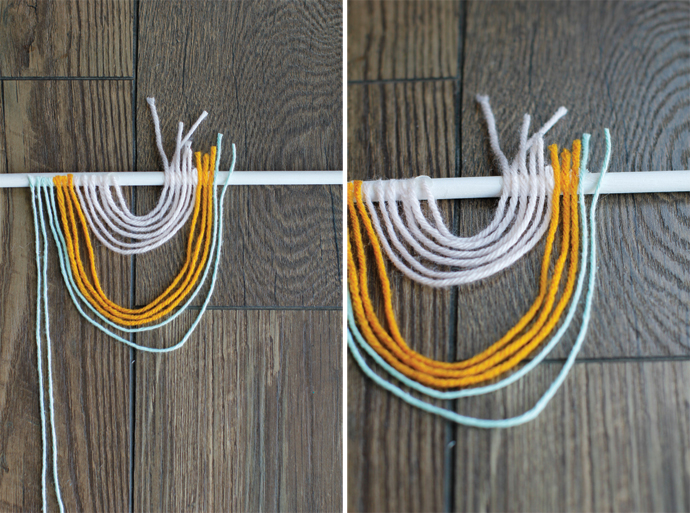
Step 2: Next, I cut the yarn. Because you will be draping yarn across the wood dowel in a “U” shape, your yarn pieces will need to be cut progressively longer.
This is where the customizing comes in. I wanted my yarn colors to be strung in a random pattern so I mixed up the color order of the yarn and made sure to keep them in order, ready for gluing.
As you can see, there isn’t really any rules on the length and spacing of the yarn; when deciding how long to cut the yarn pieces, just hold the yarn up to the dowel and play around with the length to help you decide on the look you want.
Step 3: When I started gluing, I chose to not center the “U” on my dowel, so the first string I glues slightly left of the dowel center. To glue, place a dab of hot glue on the wood dowel surface and then stick the end of the first yarn piece (most likely your shortest yarn piece) to the glue.
Be careful to not burn yourself while using the glue gun (but you already knew that 🙂 ).
Then continue to glue all the yarn pieces to your dowel (in order of shortest to longest) gluing in the direction away from the center of the dowel. In other words, glue from the center out to the dowel end. Make sure that all your glue dabs are in a straight line down the dowel; this will be the back of the dowel that will not show.
Step 4: For step 4, after all your yarn has been glued to one side of the dowel, you will begin to glue the other end of the yarn pieces to the other side of the dowel.
This creates the “U” shape. I began with the most inside (i.e. shortest) yarn piece, glued the other end to the other side of the dowel, and continued to glue the rest of the yarn pieces.
Some pieces I had cut longer than I wanted them to drape, so you will notice some “extra” yarn hanging off the dowel.
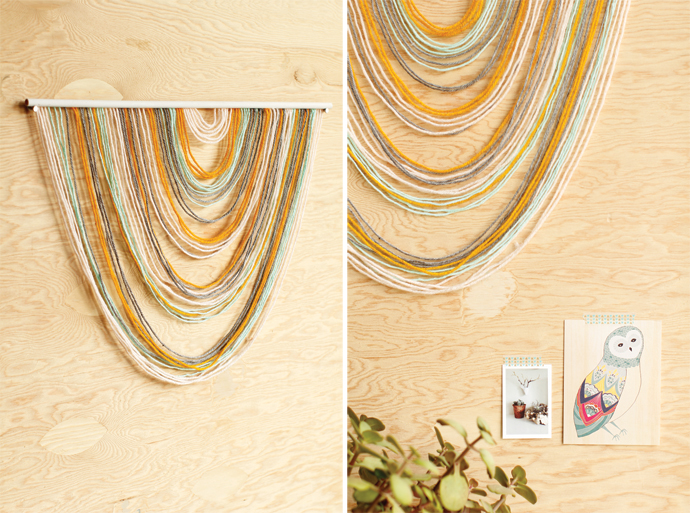
Step 5: Once you are done gluing the second yarn end, simply trim up any extra yarn hanging off the dowel. This will give you a clean line and will hide all those yarn ends behind the dowel once you hang it up.
Which means you are done and it’s time to stick that tapestry up on the wall!
Looking For More DIY? Check Out These Posts
- DIY Leather Chain Necklace
- DIY Wire Star Wall Art
- DIY Pom Pom Table Runner
- DIY Geometric Wall Art






professional looking sewing says
You actually make it appear so easy along with your
presentation but I find this topic to be actually something that
I believe I’d by no means understand. It seems too complicated and extremely
large for me. I’m having a look ahead for your subsequent submit, I’ll try to get the grasp of it!
canvasprintsd2u.co.uk says
Wow, that’s what I was seeking for, what a information! present here at this
blog, thanks admin of this website.
DEBORAH DAMELIO says
While I like your piece, please don’t diminish the HUGE amount of time, effort and creativity a REAL weaving or tapestry takes. Before you call something a tapestry, learn what a tapestry is–until you do, I’ll give you a shorthand: a particular type of weaving that tends to be more difficult than other types. Your’s isn’t even weaving.
M says
I know this is ages late, but I really appreciate the concern you have for weaving<3
A lovely piece she has made, but it is fiber wall art at best. A lovely, simple fiber wall art piece.
Unfortunately I think the boho chic era has mass produced and unjustly diminished a lot of the the appreciation due to the time and intricacies for many labor intensive arts. There is a lot of misunderstanding going on out there, let's do our best to help educate one another and ourselves 😉
Mandy Jean says
I love this! So simple and beautiful.
Take Care,
Mandy Jean
http://www.mandyjeanchic.com
Crystal | Apples & Sparkle says
This is such a unique and simple design. I really like it! : )
Alexis @ Persia Lou says
Super cool. Love the way this looks!
Julia@Cuckoo4Design says
It’s on my list to make some string/yarn art. Love the look of yours.