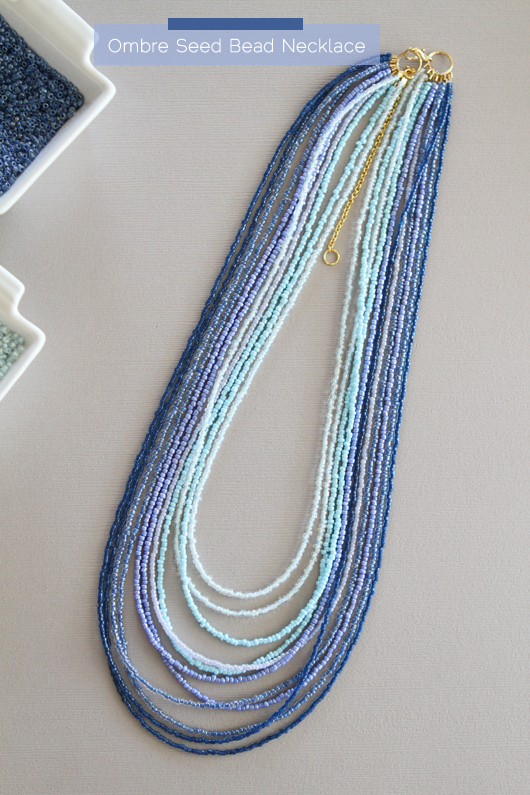
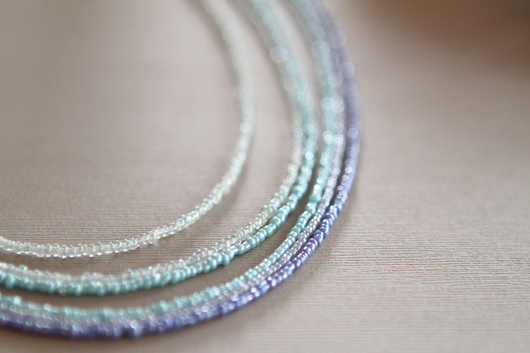
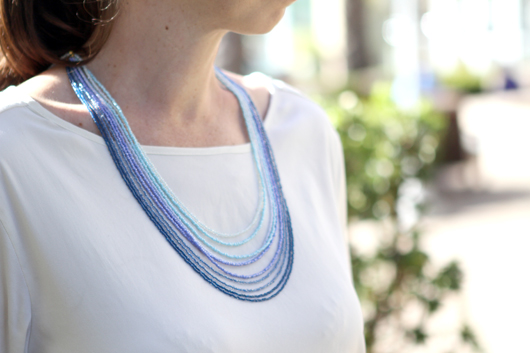
Design Mom asked me to create a spring version of a classic DIY of mine, the seed bead necklace. I ended up creating this pretty coral and gold version for her site, but I also created a fun ombre layered necklace for me and I wanted to share it with you all! I’ve said before and I’ll say it again, working with seed beads is simple, but tedious. Expect this project to take you about 3 hours, but the level of ease is quite high. A novice should be able to recreate this beautiful interpretation of a fun trend out there.
Your Supplies: Various colors of seed beads in light to dark shades, stringing wire (looks just like fishing wire), crimp beads, 4 jump rings in varying sizes (2 larger for your ends, one tiny one to attach your chain to and 1 medium size ring to leave on the end of your chain to lengthen – Michaels has a pack of various sized jump rings that contain all the sizes you need), 1 lobster claw closure, a small bit of chain, and scissors, wire cutters and needle nosed pliers.
Begin by cutting a length of line about 20 inches long.
Next, add one crimp bead, then a jump ring
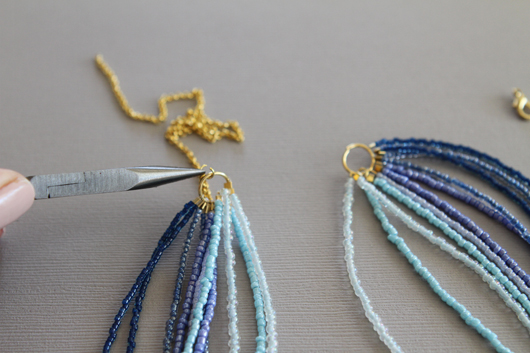
Then loop your string over the jump ring and through the crimp bead and pinch shut with your needle nosed pliers. This will keep the beads in place when you start stringing.
Then begin stringing. You can start with your lighter shade of bead like I did or reverse it and go from dark to light. A trick for quicker stringing is to lighten dampen your finger tip with a wet sponge/cloth and then dip your finger into your bowl of beads to grab a few at a time. This limits how many times you have to dip into get beads a bit.
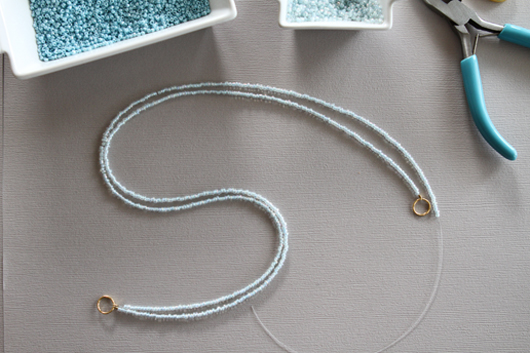
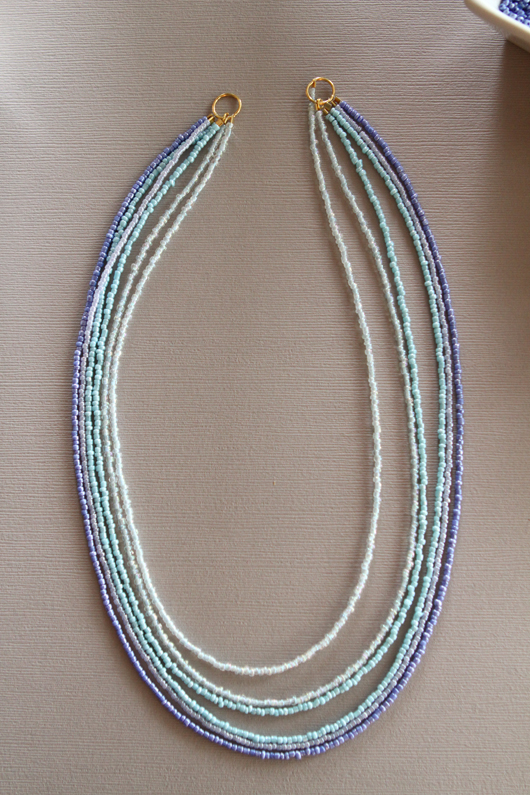
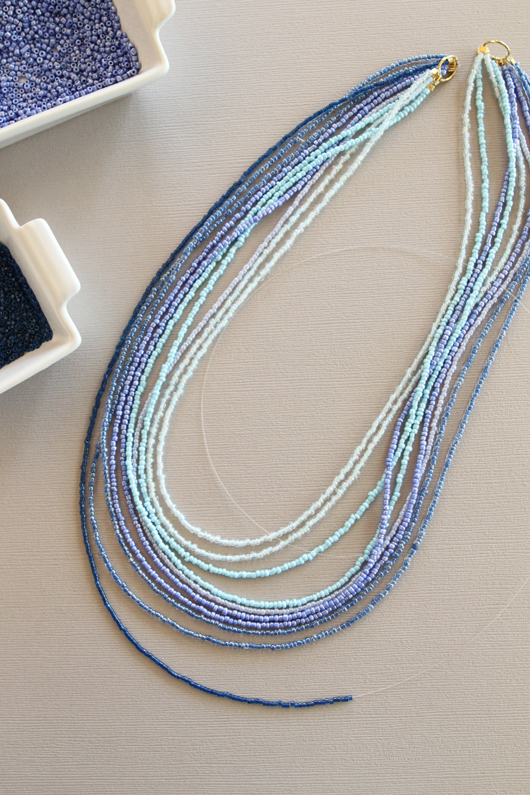
As you complete each string, make sure to repeat the crimp bead process as above so that you add a jump ring and crimp bead to one end. This secures your other end and leaves you a jump ring on both ends to add your strings to. Here are some in progress shots. To create the layered ombre effect it is important that as you add your strings of beads, you also add a bit of length to each line. I added about 1 inch to each line so that at the end, my necklace varied from 20 inches to about 25 inches long when hung on my neck.
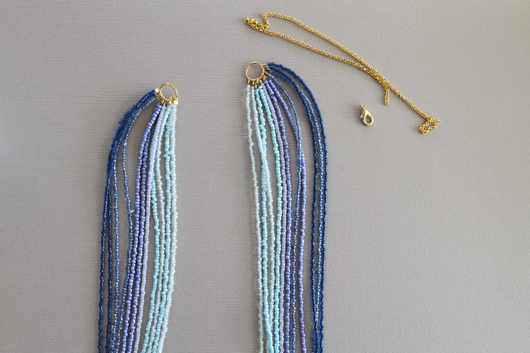
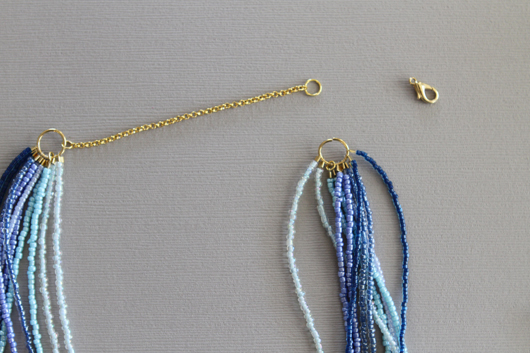
Once your stringing is complete, you’ll want to add your chain. I added a 3 inch piece of chain to the end of my necklace to make it a bit adjustable.
With your needle nosed pliers and the smallest jump ring, attach your chain to one end of your necklace.
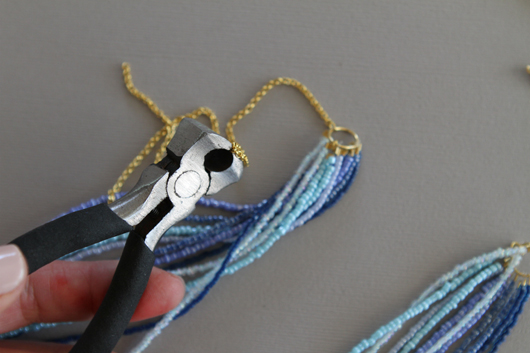
Trim your chain with your wire cutters
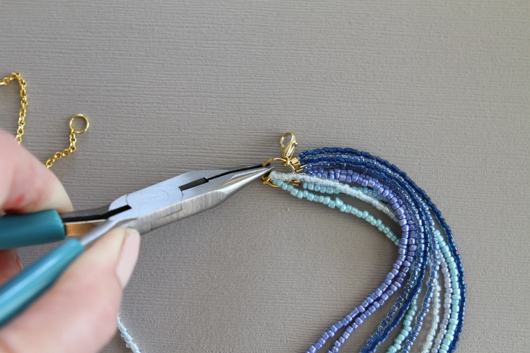
Add the medium sized jump ring to the end of the piece of chain, and then using your needle nosed pliers attach the lobster claw to the other end.
>
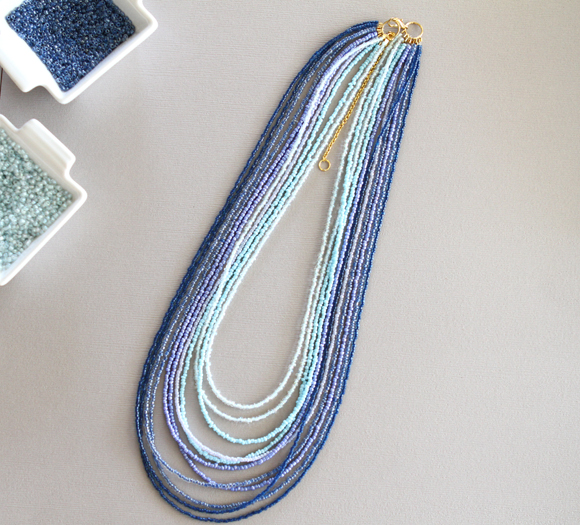
And you’re complete!
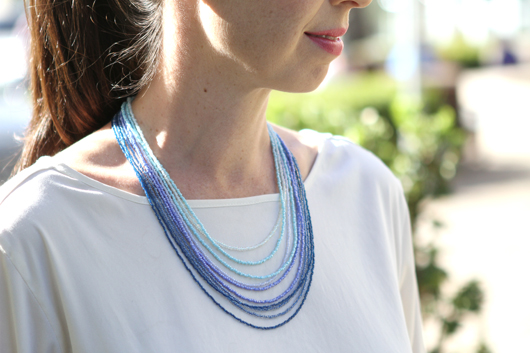
A pretty spring necklace reflecting ombre, one of the biggest ongoing trends. The color options are endless and you because the necklace is adjustable, you can wear it short or long depending on the look you’re pairing it with. I hope you enjoyed this DIY and let me know if you have any questions!





Christine says
I wanna start beading business but don’t know where to start from. I’m in Africa, Tanzania
Elly says
Love the color combination, thank you for sharing.
I agree, seed beads are a bit tedious, but so much fun to work with anyway because of the lovely results
joy says
can someone tell me where to order materials? thanks much! i love your site!
Jennifer says
This is a great tutorial, I appreciate your taking the time to make it! I’m going to use this as a jumping off point, adding my own twist with either tiny pearls or gemstones or swarovskis in the center-ish of each strand , (I’m not quite sure which one yet… Opinion? ) making a nice layered piece. At least, that is my goal. The outcome will realistically be much more catastrophic and much less elegant than the image I’ve conjured up in my head. 🙂 anyways, thanks again!
Deb says
Hi!
I love the easy instructions and the helpdul tips. Thank you for sharing this! I am going to make some for my husband’s aunts as a bon voyage and thank-you presents when they go home to Australia.
Much love,
Deb
arzu says
harika olmuş bende yapmak istiyorum
josephine galea says
nice necklace…I will try it later
GB Designs says
When using the monofiliment or very fine wire, I have begun using the soldered rings and connecting from there with jump rings…no chance of losing wires!! Great necklace…on my “to do list.”
Cindy says
I wish you had made a PDF of this pattern. It takes up too much paper and ink to print it off. Love th design though. I’m going to try it. Also, for the person who is having trouble with the wire slipping out if the jump ring, try using callettes. They are little caps with a hook. You thread the wire into the open cap, knot it, then close the cap. Then you hook it over the jump ring and close the hook. Hope that helps. Either that or use a split ring instead of a jump ring.
Jess says
Where can I get ombre beads like that? I’ve been looking everywhere and I can’t seem to find anything.
Denise says
what size of seed beads did you use? I also shared this on pinerest, Hope you dont mind.
Gayle Bales says
Can’t wait to try this. I love it
Andie says
At last some rainitaloty in our little debate.
Andrea Peterson says
I love this necklace!! I want to create my own too, and I was curious as to where you usually purchase your beads from? I went to Michael’s but the selection wasn’t great, and the prices were high. I thought you might have a secret source?! 😉
Tessa says
I’m currently making this necklace for one of my friends for Christmas and I’m having a problem with the large jump ring and the stringing wire. The wires keep coming out of the little opening of the jump ring. I was wondering if you could tell me what kind of wire you used and was this a problem you had as well. Thanks!
Zurina says
This comment is for Tessa – both Cindy and GB Designs share great solutions to your problem. I tend to use a soldered (closed) jump ring as well. This can be cool because you can add another design element. Often you will find decorative links that will work just as well, and they can add a little texture and shape to your piece. A dun little trick 🙂 Good luck and enjoy your beautiful jewelry!
Jane says
Hello Andrea!
You made a very nice tutorial for your OMBRE SEED BEAD NECKLACE. The design is simple but so effective and beautiful! I can’t help but share it on my blog. Feel free to visit the article 🙂 http://www.handmade-jewelry-club.com/2012/09/featured-free-necklace-tutorials.html#
Thank you for the inspiration and cheers!
Jane